PHP Tutorial
- PHP Tutorial
- Install PHP
- PHP Code
- PHP Echo and print
- PHP Variable
- PHP Variable Scope
- PHP $ and $$
- PHP Constants
- PHP Data Types
- PHP Operators
- PHP Comments
Control Statement
- PHP If else
- PHP Switch
- PHP For Loop
- PHP foreach loop
- PHP While Loop
- PHP Do While Loop
- PHP Break
- PHP Continue
PHP Functions
- PHP Functions
- Parameterized Function
- PHP Call By Value and reference
- PHP Default Arguments
- PHP Variable Arguments
- PHP Recursive Function
PHP Arrays
PHP Strings
PHP Math
PHP Form
PHP Include
State Management
PHP File
Upload Download
PHP OOPs Concepts
- OOPs Concepts
- OOPs Abstract Class
- OOPs Abstraction
- OOPs Access Specifiers
- OOPs Const Keyword
- OOPs Constructor and destructor
- Encapsulation
- Final Keyword
- OOPs Functions
- OOPs Inheritance
- OOPs Interface
- OOPs Overloading
- OOPs Type Hinting
PHP MySQLi
- MySQLi CONNECT
- MySQLi CREATE DB
- MySQLi CREATE Table
- MySQLi INSERT
- MySQLi UPDATE
- MySQLi DELETE
- MySQLi SELECT
- MySQLi Order by
PHP Topics
- Compound Types
- is_null() Function
- Special Types
- Inheritance Task
- Special Types
- MVC Architecture
- PHP vs. JavaScript
- PHP vs. HTML
- PHP vs. Node.js
- PHP vs Python
- PHP PDO
- Top 10 PHP frameworks
- phpMyAdmin
- Count All Array Elements
- Create Newline
- Get Current Page URL
PHP Mail
PHP is an open-source general-purpose scripting language, which is widely used for creating dynamic and interactive web pages. PHP can access a large range of relational database management systems such as MYSQL, SQLite, and PostgreSQL. The PHP 5.1 version offered a new database connection abstraction library, which is PHP Data Objects (PDO).
What is PDO?
PDO refers to PHP Data Object, which is a PHP extension that defines a lightweight and consistent interface for accessing a database in PHP. It is a set of PHP extensions which provide a core PDO class and database-specific driver. Each database driver can expose database-specific features as a regular extension function that implements the PDO interface.
Note: We cannot perform any type of database function by using the PDO extension itself. To access a database server, we must use a database-specific PDO driver.
PDO mainly focuses on data access abstraction rather than database abstraction. It provides data-access abstraction layer, which means, regardless of which database we are using, we have to use the same functions provided by that database to issue queries and fetch data. PDO does not provide data abstraction, as it does not rewrite the SQL or emulate missing features.
Advantage of PDO
PDO provides various ways to work with objects and retrieves prepared statements that make work much easier. It is a database access tool in PHP through which we enable uniform access across several databases.
PDO allows comparatively seamless switching between different databases and platforms, which can be easily done by changing the connection string. It does not support database-specific syntaxes.
There are some advantages of PDO as follows:
- Database support
The PDO extension can access any database which is written for PDO driver. There are several PDO drivers available which are used for FreeTDS, Microsoft SQL Server, Sybase, IBM DB2, Oracle Call Interface, Firebird/Interbase 6, and PostgreSQL databases, among many more.
The drivers are not available in every system automatically, so we have to find our available drivers and add ones when we need them. - Database connecting
There are different syntaxes available to establish the database connection. These syntaxes depend on specific databases. While using PDO, operations must be wrapped in try/catch blocks and utilize the exception technique.
Usually, only a single connection needs to create, and these connections are closed by programming the database to set as a null. - Error handling
PDO permits to use exceptions for error handling. To produce an exception, PDO can be forced into a relevant error mode attribute.
There are three error modes, i.e., Silent (default), Warning, and Exception. Warning and Exception are more useful in DRY programming.- Silent – It is a default error mode.
- Warning – It is useful for debugging.
- Exception – This mode allows graceful error handling while hiding data that a person might use to exploit your system.
- Insert and Update
PDO reduces the commonly used insert and update database operation into a two-step process, i.e.
Prepare >> [Bind] >> Execute.
Through this method, we can take full advantage of PDO’s prepared statements, which protect against malicious attacks through SQL injection.
Prepared statements are pre-compiled SQL statements that can be executed multiple times by sending this data to the server. This data, which is used within the placeholder, is automatically protected from the SQL injection attack.
Benefits of using PDO
PDO is the native database driver. There are some benefits of using PDO that are given below:
- Usability – It contains many helper functions to operate automatic routine operations.
- Reusability – It offers the unified API to access multiple databases.
- Security – It uses a prepared statement which protects from SQL injection. A prepared statement is a pre-compiled SQL statement that separates the instruction of the SQL statement from the data.
PDO Classes
There are three PDO classes, which are given below:
- PDO – It represents a connection between PHP and the database.
- PDOStatement – It represents the prepared statement and after the execution of the statement, sets an associated result.
- PDOException – It represents errors raised by PDO.
Databases supported by PDO
- MySQL
- PostgreSQL
- Oracle
- Firebird
- MS SQL Server
- Sybase
- Informix
- IBM
- FreeTDS
- SQLite
- Cubrid
- 4D
Comparison between PDO and MySQLi
To access the database by using PHP, we have mainly two options – MySQLi and PDO (PHP Data Object). MySQLi is a native for PHP that provides faster performance, whereas, most of the experienced developers prefer to work with PDO as it supports a wide variety of database drivers. There are some differences between PDO and MySQLi listed below based on their features.
| Features | PDO | MySQLi |
|---|---|---|
| DB Support | 12 different drivers | MySQL only |
| Connection | Easy | Easy |
| API | OOP | OOP + Procedure |
| Performance | Fast | Fast |
| Named Parameter | Yes | No |
| Object mapping | Yes | Yes |
| Stored Procedure | Yes | Yes |
| Client-Side Prepared Statements | Yes | No |
| Security | More secure than MySQLi. | Secure but not more than PDO. |
Which should be preferred between PDO or MySQLi?
Both PDO and MySQLi have their own advantages:
- As we have seen earlier that PDO works on 12 different database systems, whereas MySQL can work only with MySQL database. So, if we want to switch our project to another database, PDO makes it easy. In MySQLi, we have to rewrite the entire code.
- PDO and MySQLi both are Object-Oriented, but MySQLi also offers procedural API. Both support Prepared Statements. Prepared Statements are important for web application security, as it protects from SQL injection.
Requirement
There is no need of external libraries to build this extension.
Installation Process
Step 1: Download the latest XAMPP server from here https://www.apachefriends.org/download.html for different platforms like Windows, Linux, and MacOS.
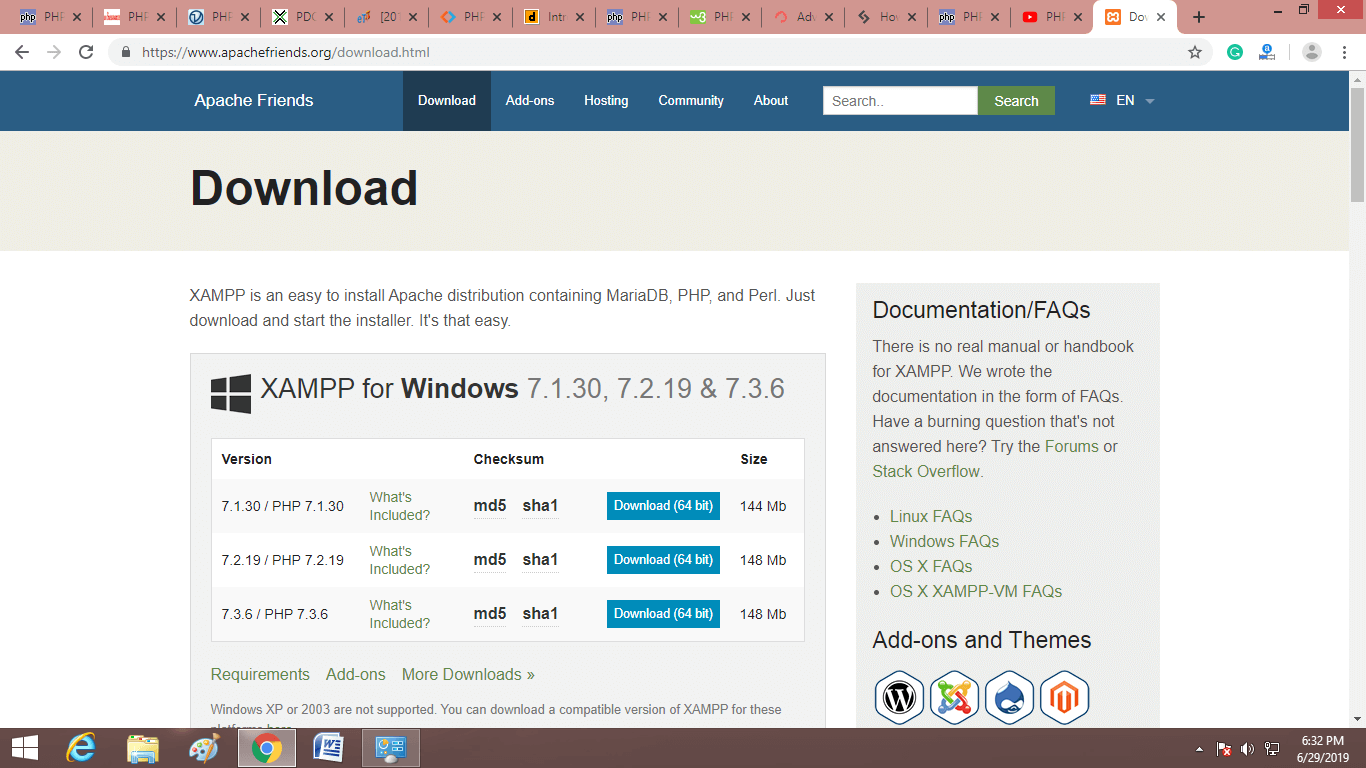
Note: Here we will discuss the installation process for Windows OS only.
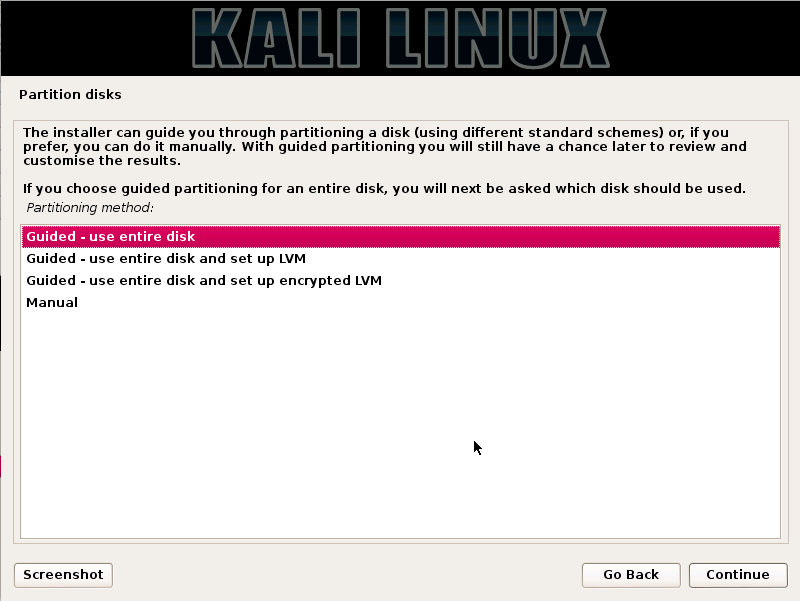
Step 2: Install the XAMPP Server on your system by following these steps.
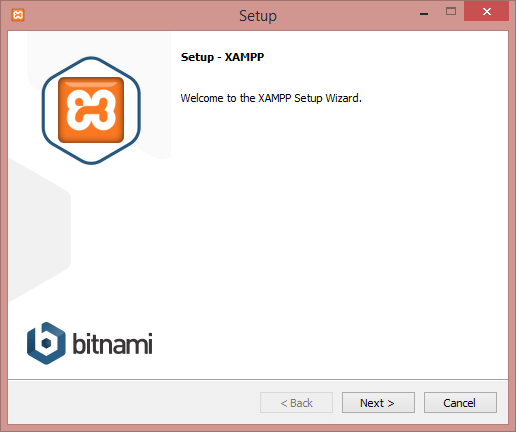
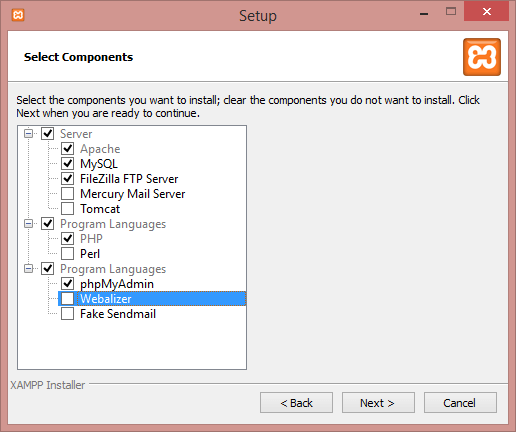
Step 3: Select the components which you want to install and click on the Next button.
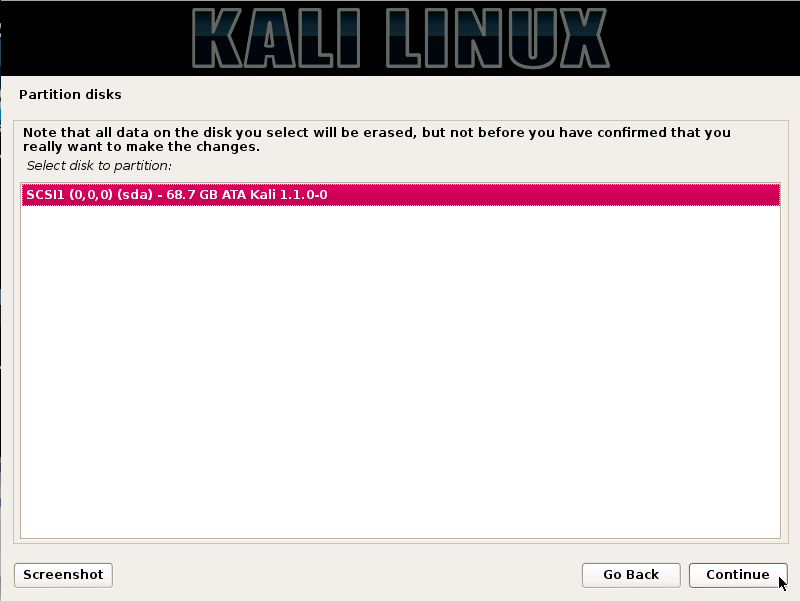
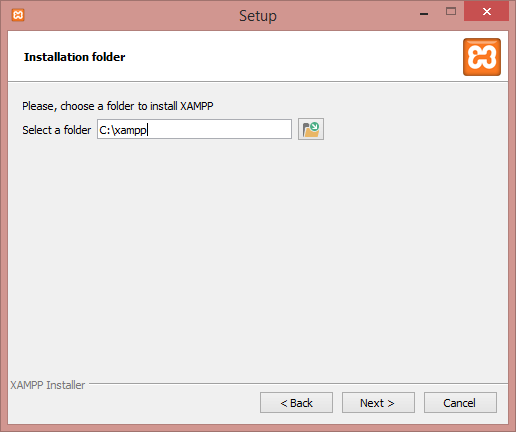
Step 4: Create the new folder with the name xampp at the location where you want to install XAMPP.
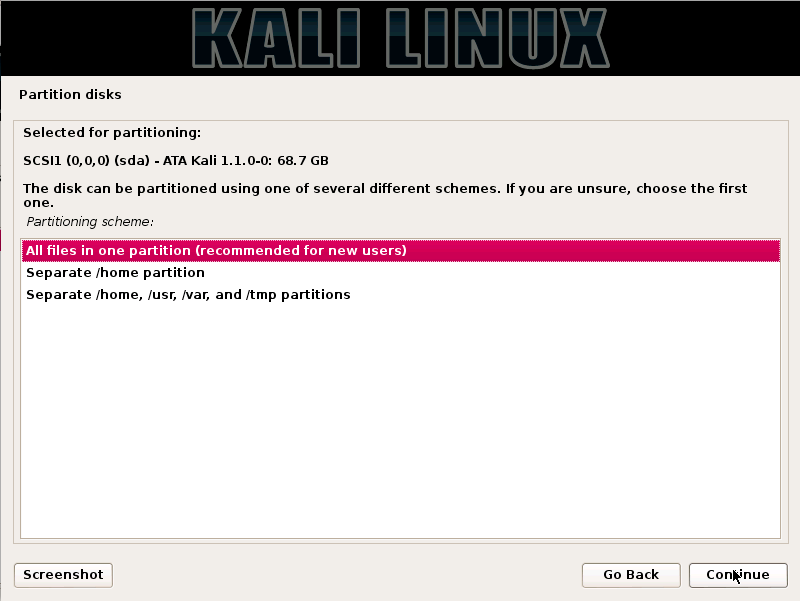
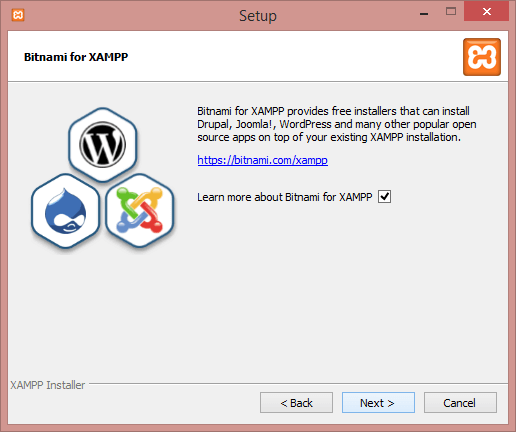
Step 5: Click on Next here and move forward. Installation of the XAMPP server will start from here.
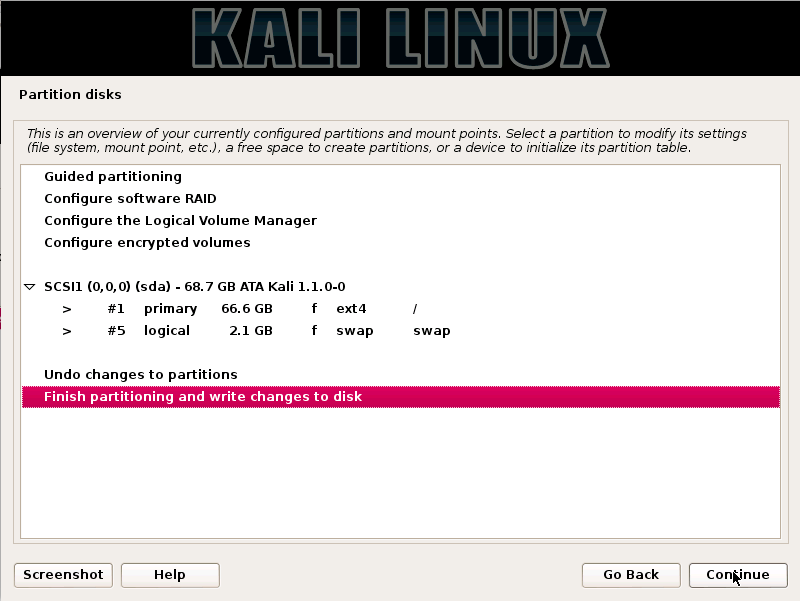
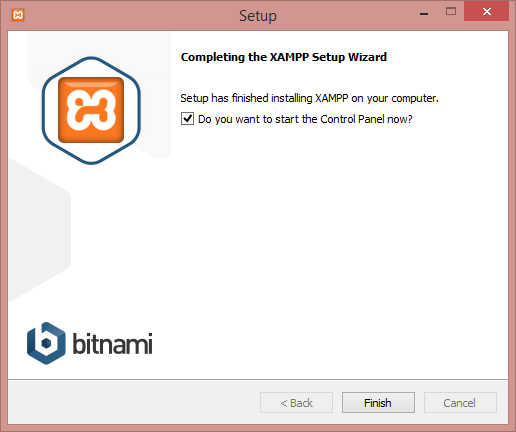
Step 6: XAMPP is installed successfully. Click on Finish button.
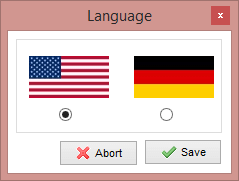
Step 7: Select the preferred Language.
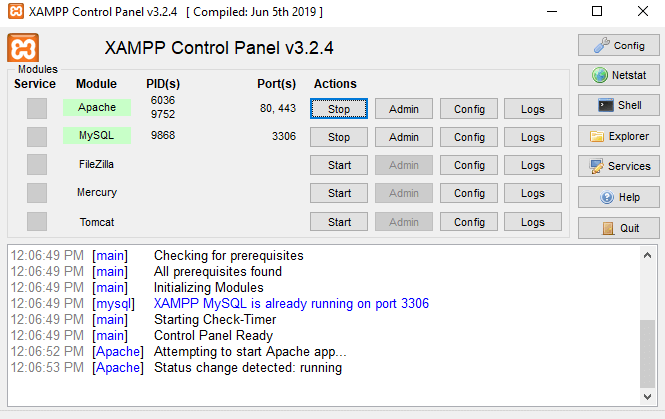
Step 8: Run the Apache server and MySQL from here (as per the given screenshot).
Step 9: Now, open php.ini from C:/xampp/php/php.ini (where you have installed your XAMPP) and uncomment the extension “php_pdo_mysql.dll” and “php_pdo.dll” (if you are working with MySQL database), or “php_pdo_oci.dll” (if you are working with Oracle database). Now, start working with the database. In PHP 5.1 upper version, it is already set.
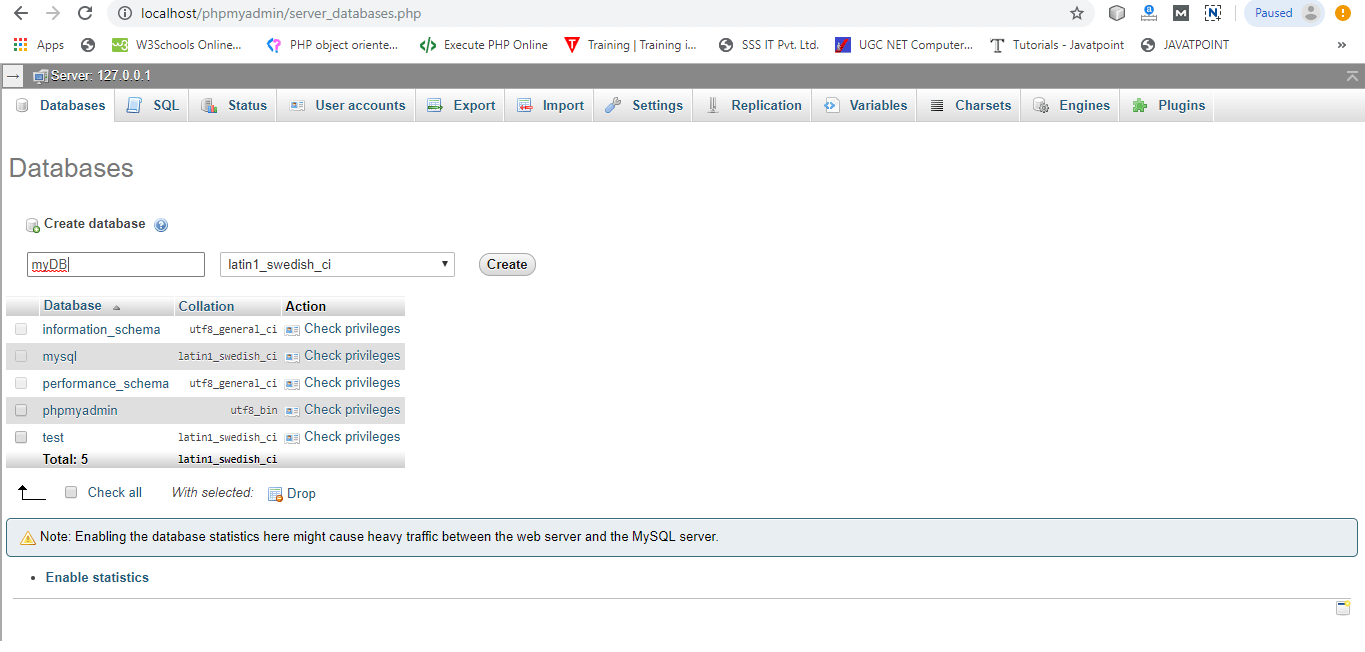
Working with PDO
Firstly we need to create a database, so create a database by name myDB from here.
Database Connection
A database connection is always required to interact with the database. So, we need to know the identifier to access database, i.e., location of the database, database name, username, and password.
Now, create the database connection program using PDO in any text editor such as notepad or notepad++ and save it by coonection.php name. Run it on XAMPP server using localhost/80.
Example
<?php
    $dbHost="localhost";
    $dbName="myDB";
    $dbUser="root";      //by default root is user name.
    $dbPassword="";     //password is blank by default
    try{
        $dbConn= new PDO("mysql:host=$dbHost;dbname=$dbName",$dbUser,$dbPassword);
        Echo "Successfully connected with myDB database";
    } catch(Exception $e){
    Echo "Connection failed" . $e->getMessage();
    }
?>
Output
Run it on the server using following URL localhost/Xampp/pdoexample/connection.php/ or where you have saved your program.

Handling Connection Error
A PDOException object will be thrown if there is any connection error. We may catch the exception if we want to handle the error condition, or we can also leave it to global exception handler which can be set up by set_exception_handler() function.
Example
In this example, dbUser(user-id) is wrong, so it will throw an exception, as we can see in the output.
<?php
    $dbHost="localhost";
    $dbName="myDB";
    $dbUser="rroot";
    $dbPassword="";
    try{
        $dbConn= new PDO("mysql:host=$dbHost;dbname=$dbName",$dbUser,$dbPassword);

        //Set the PDO error mode to exception.
        $conn->setAttribute(PDO::ATTR_ERRMODE, PDO::ERRMODE_EXCEPTION);
        Echo "Successfully connected with myDB database";
    } catch(Exception $e){
    Echo "Connection failed" . $e->getMessage();
    }
?>

Closing the database connection
<?php
    $dbHost="localhost";
    $dbName="myDB";
    $dbUser="root";      //by default root is user name.
    $dbPassword="";     //password is blank by default
    try{
        $dbConn= new PDO("mysql:host=$dbHost;dbname=$dbName",$dbUser,$dbPassword);
        Echo "Successfully connected with myDB database";
    } catch(Exception $e){
    Echo "Connection failed" . $e->getMessage();
    }
// this command close the connection.
    $dbConn = null;
?>
Output