
Database Concept
DBMS ER Model
DBMS Relational model
- DBMS Codd’s 12 rule
- DBMSBasic Concepts
- DBMS Relational Algebra
- DBMS Relational Calculus
- DBMS ER Model to Relational Model
- DBMS Types of Database key
DBMS Normalization
- DBMS Introduction to Normalization
- DBMS First Normal Form (1NF)
- DBMS Second Normal Form (1NF)
- DBMS Third Normal Form (3NF)
- DBMS Boyce-Codd Normal Form (BCNF)
- DBMS Fourth Normal Form (4NF)
- DBMS Fifth Normal Form (5NF)
DBMS Basic SQL
DBMS DML Command
DBMS DCL Command
- All DCL Command
- SELECT query
- WHERE clause
- LIKE clause
- ORDER BY clause
- Group BY clause
- Having clause
- DISTINCT keyword
- AND & OR operator
- DIVISION operator
Advanced SQL
SQL supports few Set operations which can be performed on the table data. These are used to get meaningful results from data stored in the table, under different special conditions.
In this tutorial, we will cover 4 different types of SET operations, along with example:
- UNION
- UNION ALL
- INTERSECT
- MINUS
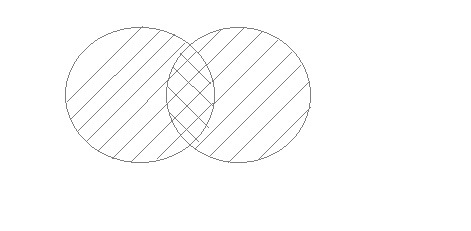
UNION Operation
UNION is used to combine the results of two or more SELECT statements. However it will eliminate duplicate rows from its resultset. In case of union, number of columns and datatype must be same in both the tables, on which UNION operation is being applied.

Example of UNION
The First table,
| ID | Name |
|---|---|
| 1 | abhi |
| 2 | adam |
The Second table,
| ID | Name |
|---|---|
| 2 | adam |
| 3 | Chester |
Union SQL query will be,
SELECT * FROM First
UNION
SELECT * FROM Second;
The resultset table will look like,
| ID | NAME |
|---|---|
| 1 | abhi |
| 2 | adam |
| 3 | Chester |
UNION ALL
This operation is similar to Union. But it also shows the duplicate rows.
Example of Union All
The First table,
| ID | NAME |
|---|---|
| 1 | abhi |
| 2 | adam |
The Second table,
| ID | NAME |
|---|---|
| 2 | adam |
| 3 | Chester |
Union All query will be like,
SELECT * FROM First
UNION ALL
SELECT * FROM Second;
The resultset table will look like,
| ID | NAME |
|---|---|
| 1 | abhi |
| 2 | adam |
| 2 | adam |
| 3 | Chester |
INTERSECT
Intersect operation is used to combine two SELECT statements, but it only retuns the records which are common from both SELECT statements. In case of Intersect the number of columns and datatype must be same.
NOTE: MySQL does not support INTERSECT operator.

Example of Intersect
The First table,
| ID | NAME |
|---|---|
| 1 | abhi |
| 2 | adam |
The Second table,
| ID | NAME |
|---|---|
| 2 | adam |
| 3 | Chester |
Intersect query will be,
SELECT * FROM First
INTERSECT
SELECT * FROM Second;
The resultset table will look like
| ID | NAME |
|---|---|
| 2 | adam |
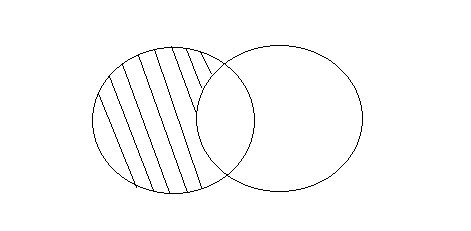
MINUS
The Minus operation combines results of two SELECT statements and return only those in the final result, which belongs to the first set of the result.
Example of Minus
The First table,
| ID | NAME |
|---|---|
| 1 | abhi |
| 2 | adam |
The Second table,
| ID | NAME |
|---|---|
| 2 | adam |
| 3 | Chester |
Minus query will be,
SELECT * FROM First
MINUS
SELECT * FROM Second;
The resultset table will look like,
| ID | NAME |
|---|---|
| 1 | abhi |

