PHP Tutorial
- PHP Tutorial
- Install PHP
- PHP Code
- PHP Echo and print
- PHP Variable
- PHP Variable Scope
- PHP $ and $$
- PHP Constants
- PHP Data Types
- PHP Operators
- PHP Comments
Control Statement
- PHP If else
- PHP Switch
- PHP For Loop
- PHP foreach loop
- PHP While Loop
- PHP Do While Loop
- PHP Break
- PHP Continue
PHP Functions
- PHP Functions
- Parameterized Function
- PHP Call By Value and reference
- PHP Default Arguments
- PHP Variable Arguments
- PHP Recursive Function
PHP Arrays
PHP Strings
PHP Math
PHP Form
PHP Include
State Management
PHP File
Upload Download
PHP OOPs Concepts
- OOPs Concepts
- OOPs Abstract Class
- OOPs Abstraction
- OOPs Access Specifiers
- OOPs Const Keyword
- OOPs Constructor and destructor
- Encapsulation
- Final Keyword
- OOPs Functions
- OOPs Inheritance
- OOPs Interface
- OOPs Overloading
- OOPs Type Hinting
PHP MySQLi
- MySQLi CONNECT
- MySQLi CREATE DB
- MySQLi CREATE Table
- MySQLi INSERT
- MySQLi UPDATE
- MySQLi DELETE
- MySQLi SELECT
- MySQLi Order by
PHP Topics
- Compound Types
- is_null() Function
- Special Types
- Inheritance Task
- Special Types
- MVC Architecture
- PHP vs. JavaScript
- PHP vs. HTML
- PHP vs. Node.js
- PHP vs Python
- PHP PDO
- Top 10 PHP frameworks
- phpMyAdmin
- Count All Array Elements
- Create Newline
- Get Current Page URL
PHP Mail
phpMyAdmin is an open-source software tool introduced on September 9, 1998, which is written in PHP. Basically, it is a third-party tool to manage the tables and data inside the database. phpMyAdmin supports various type of operations on MariaDB and MySQL. The main purpose of phpMyAdmin is to handle the administration of MySQL over the web.
It is the most popular application for MySQL database management. We can create, update, drop, alter, delete, import, and export MySQL database tables by using this software. phpMyAdmin also supports a wide range of operation like managing databases, relations, tables, columns, indexes, permissions, and users, etc., on MySQL and MariaDB. These operations can be performed via user interface, while we still have the ability to execute any SQL statement.
phpMyAdmin is translated into 72 languages and also supports both RTL and LTR languages so that the wide range of people can easily use this software. We can run MySQL queries, repair, optimized, check tables, and also execute other database management commands. phpMyAdmin can also be used to perform administrative tasks such as database creation, query execution.
phpMyAdmin is a GUI-based application which is used to manage MySQL database. We can manually create database and table and execute the query on them. It provides a web-based interface and can run on any server. Since it is web-based, so we can access it from any computer.
Features of phpMyAdmin
phpMyAdmin supports several features that are given below:
- phpMyAdmin can create, alter, browse, and drop databases, views, tables, columns, and indexes.
- It can display multiple results sets through queries and stored procedures.
- phpMyAdmin use stored procedure and queries to display multiple results sets.
- It supports foreign keys and InnoDB tables.
- phpMyAdmin can track the changes done on databases, views, and tables.
- We can also create PDF graphics of our database layout.
- phpMyAdmin can be exported into various formats such as XML, CSV, PDF, ISO/IEC 26300 – OpenDocument Text and Spreadsheet.
- It supports mysqli, which is the improved MySQL extension.
- phpMyAdmin can interact with 80 different languages.
- phpMyAdmin can edit, execute, and bookmark any SQL-statements and even batch-queries.
- By using a set of pre-defined functions, it can transform stored data into any format. For example – BLOB-data as image or download-link.
- It provides the facility to backup the database into different forms.
Advantage of phpMyAdmin
- phpMyAdmin can run on any server or any OS as it has a web browser.
- We can easily create, delete, and edit the database and can manage all elements using the graphical interface of phpMyAdmin, which is much easier than MySQL command-line editor.
- phpMyAdmin helps us to control the user’s permission and operate several servers at the same time.
- We can also backup our database and export the data into different formats like XML, CSV, SQL, PDF, OpenDocument Text, Excel, Word, and Spreadsheet, etc.
- We can execute complex SQL statements and queries, create and edit functions, triggers, and events using the graphical interface of phpMyAdmin.
Disadvantage of phpMyAdmin
- phpMyAdmin is a simple interface, but quite tough for a beginner to learn.
- phpMyAdmin is difficult to install as it needs three more software tools before installation, which is- Apache server, PHP, and MySQL.
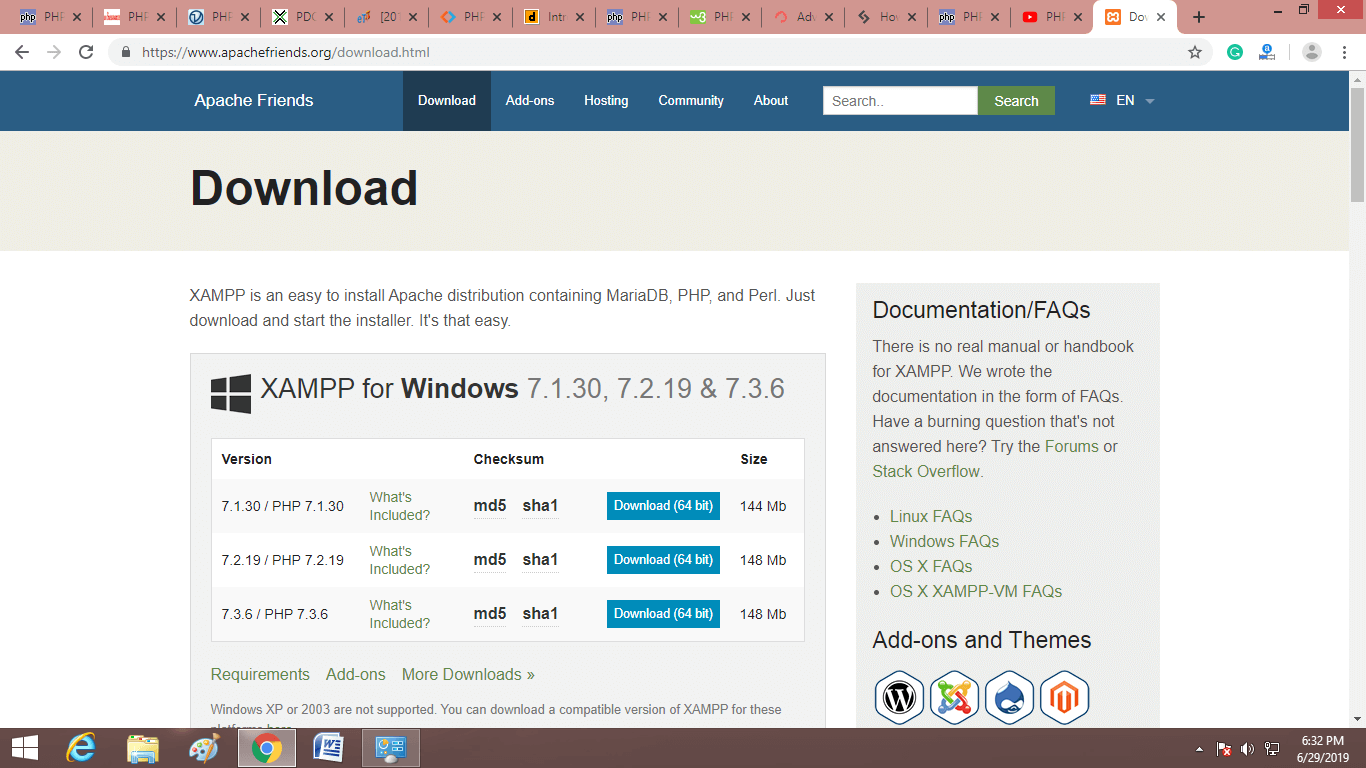
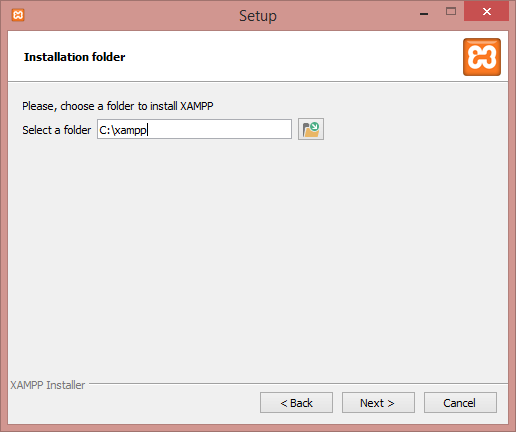
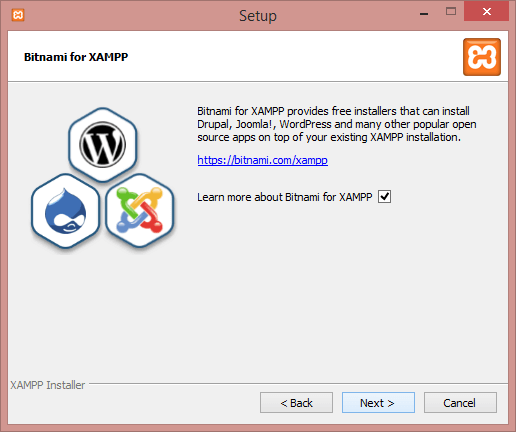
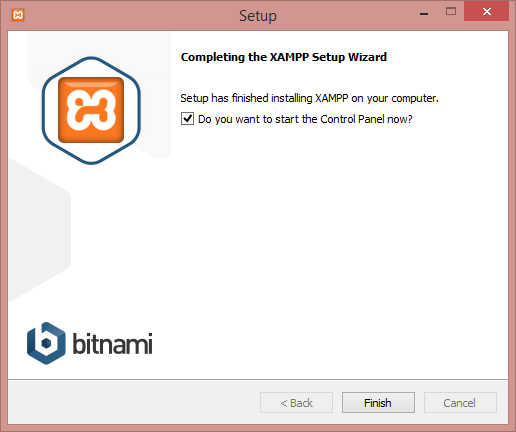
- We have to install all these software tools individually, whereas XAMPP already contains them in a single package. XAMPP is the easiest way to get phpMyAdmin.
- It has no schema visualization.
- phpMyAdmin is a web-based software tool which runs only on the browser, so It completely depends on browsers.
- It does not have auto-compilation capability.
Data Backup problem with phpMyAdmin
phpMyAdmin lacks a lot of features in import/export functionality. There are some backup problems with phpMyAdmin that are given below:
- Scheduling – There is no way to export the data of the database in phpMyAdmin automatically.
- Storage media support – As we have discussed earlier, phpMyAdmin is web-based software, so it runs only on the browser. We can take backups only to local drives of our system.
- Compression, Encryption, and other option – The files which are exported with phpMyAdmin are saved as common text files, with any additional processing. Whereas storing these files in the original form usually takes a lot of disk storage.
Prerequisite
- Web server – Apache, Nginx, IIS
- PHP
- Database – MySQL, MariaDB
- Web Browser
Web server – phpMyAdmin’s interface is based on our web browser, we need a web server to keep phpMyAdmin’s files inside it. Apache and IIS are popular web servers. We can download Apache web server from here http://mirrors.estointernet.in/apache//httpd/.
PHP – We also need to install PHP 5.3 or upper version to support different functionalities. It contains different extensions to provide support for these functionalities. For example –
- Session support -SPL (Standard PHP Library) extension
- Uploading of ZIP files support -PHP zip extension
- Cookie authentication – mcrypt extension
- Open Document Spreadsheet and XML importing support –libxml extension
We can download PHP from here. https://www.php.net/downloads.php.
Database – phpMyAdmin supports databases, i.e.
- MySQL 5.5 or latest versions
- MariaDB 5.5 or latest versions
Download the MySQL database from here https://dev.mysql.com/downloads/file/?id=486088 or MariaDB database from here https://mariadb.org/download/.
Web Browser – Web browser is required to access phpMyAdmin with enabled cookie and JavaScript. It can be Chrome, Internet Explorer, etc.
Difference between phpMyAdmin and MySQL Console
- phpMyAdmin provides a user interface through which we can execute query within SQL. We can also paste the query into SQL to test our output, whereas on MySQL Console we cannot copy and paste queries. We have to write query every time to execute on MySQL console.
- MySQL is a database server, on the other hand, phpMyAdmin is a server tool to access the database on MySQL server.
- We have to learn database query to create, delete, alter, update, and drop to execute on MySQL console, whereas in phpMyAdmin we can do it using graphical user interface which automatically executes these queries in background.
Note: In simple words, MySQL is a database, and phpMyAdmin is a software tool to access data from that database.
How to install phpMyAdmin?
Here we are going to discuss that how to download phpMyAdmin on Windows operating system. Below are the steps-
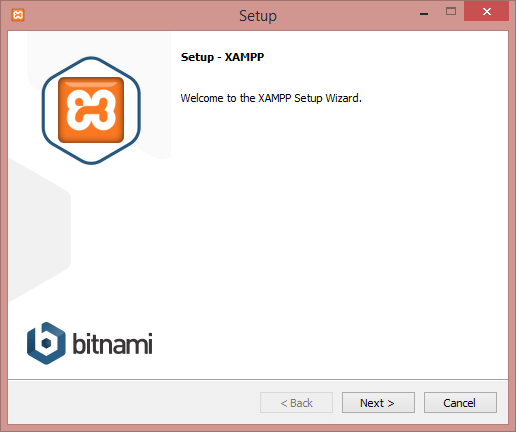
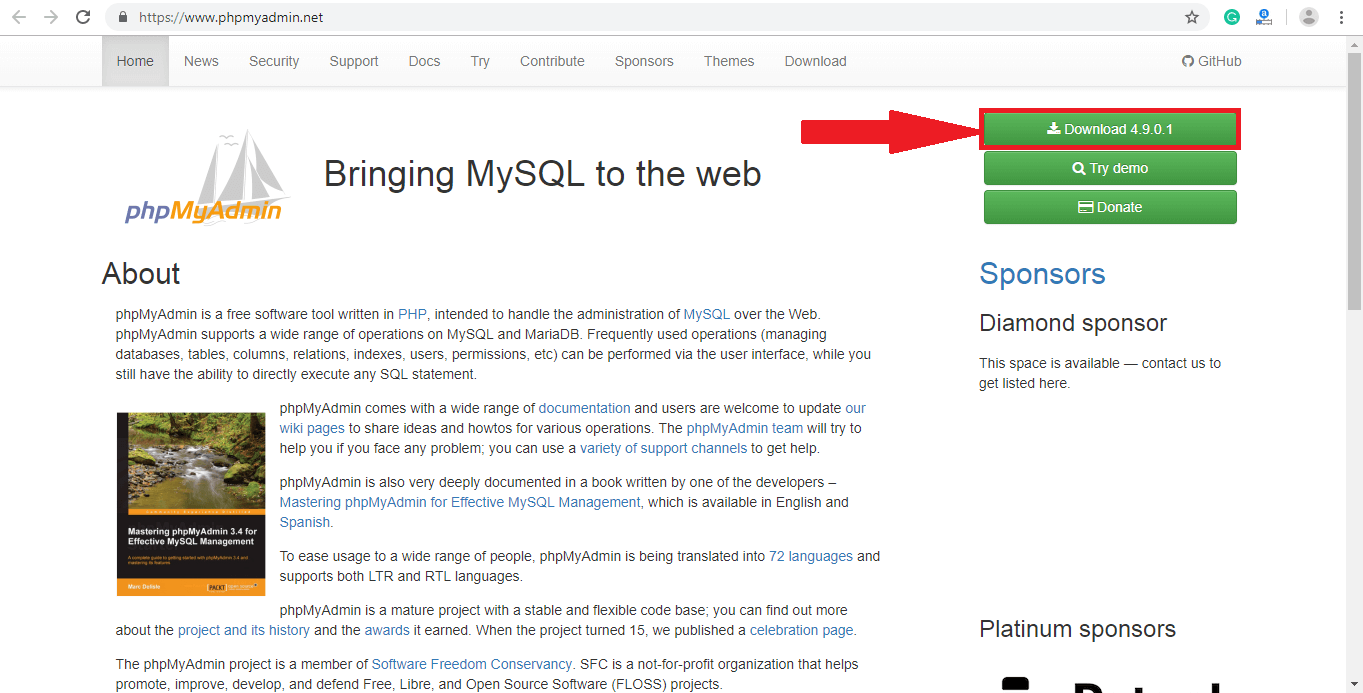
Step 1:
Download the latest version of phpMyAdmin software tool from here https://www.phpmyadmin.net/ as per the following instruction. Click on the download button to start downloading.
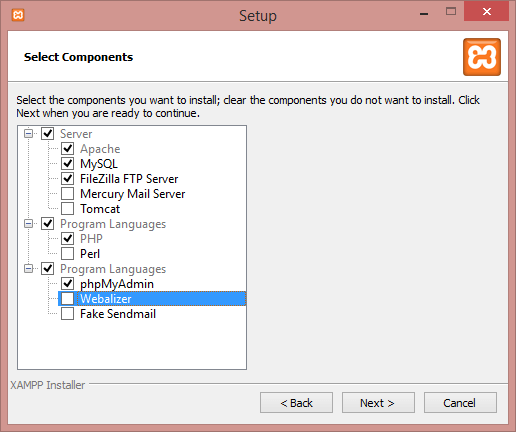
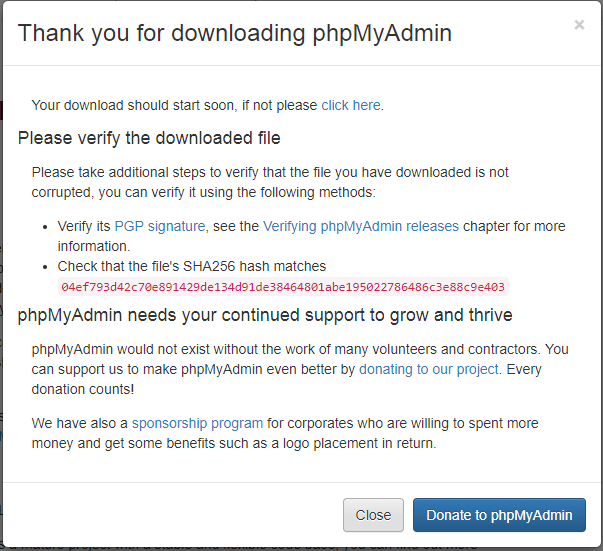
Step 2:
A popup window will open. Click on Close button and move to the next step.
Step 3:
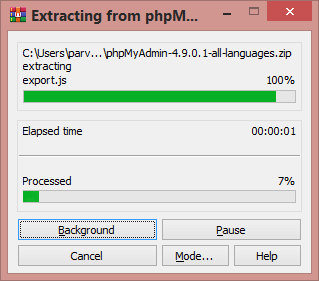
Extract the downloaded file by right-clicking on the file and select Extract here, and rename the folder name with name phpmyadmin for easy access on the browser.
Step 4:
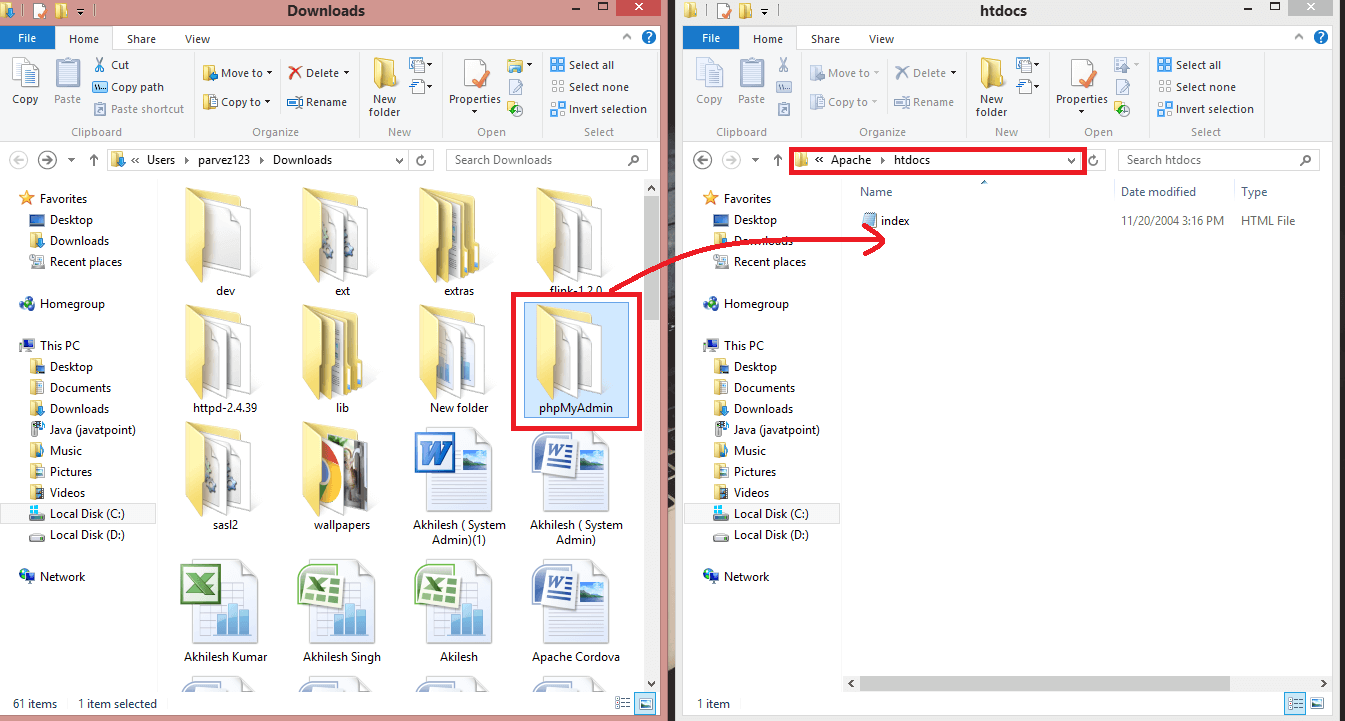
Once all the files of phpMyAdmin extracted successfully, move the extracted folder of phpMyAdmin from downloaded location to C:\Apache\htdocs. We can also extract files directly in the htdocs folder of apache.
Step 5:
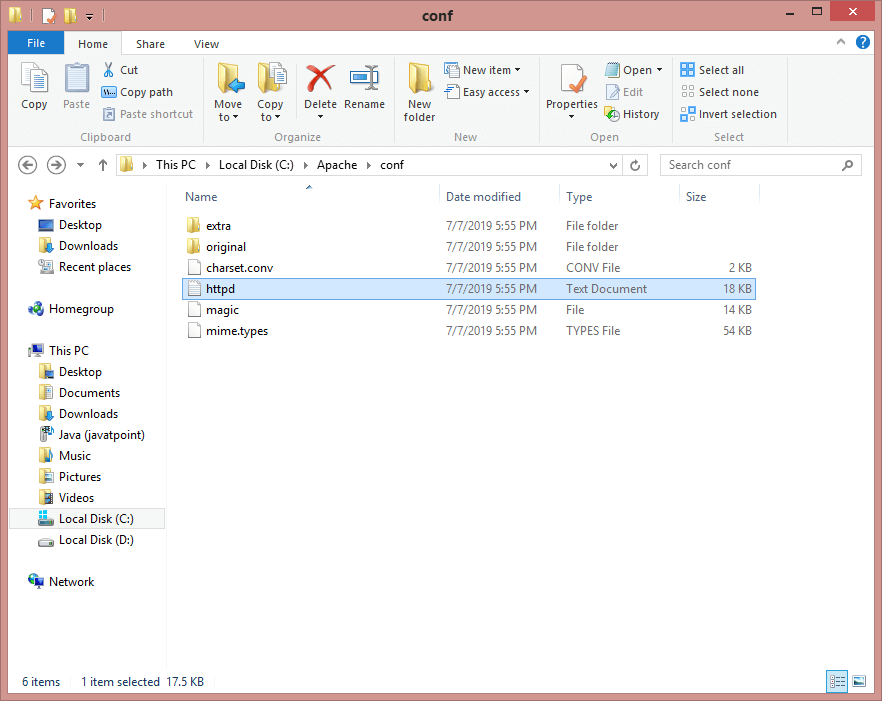
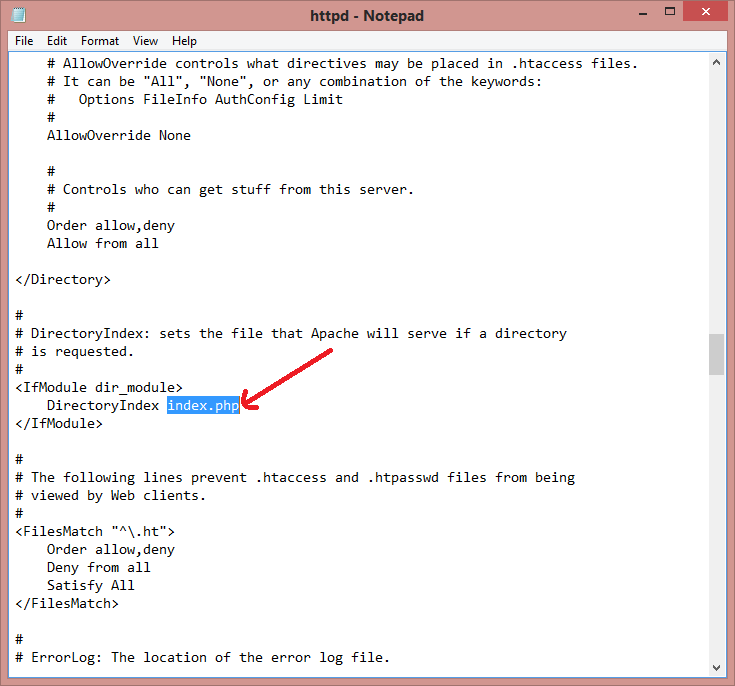
Go inside the conf folder of apache in c drive and open httpd file.
Step 6:
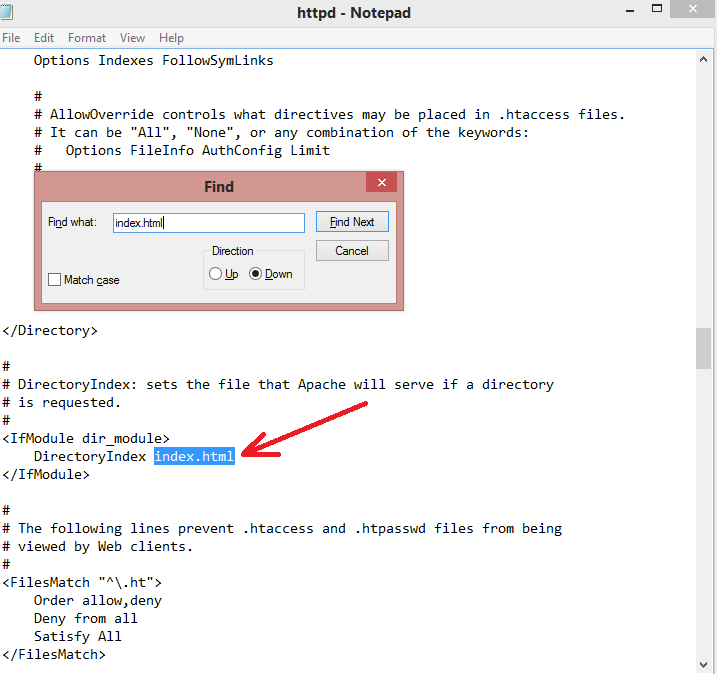
Press Ctrl+F key and find index.html written in the file. Now, replace .html extension with .php and save the file.
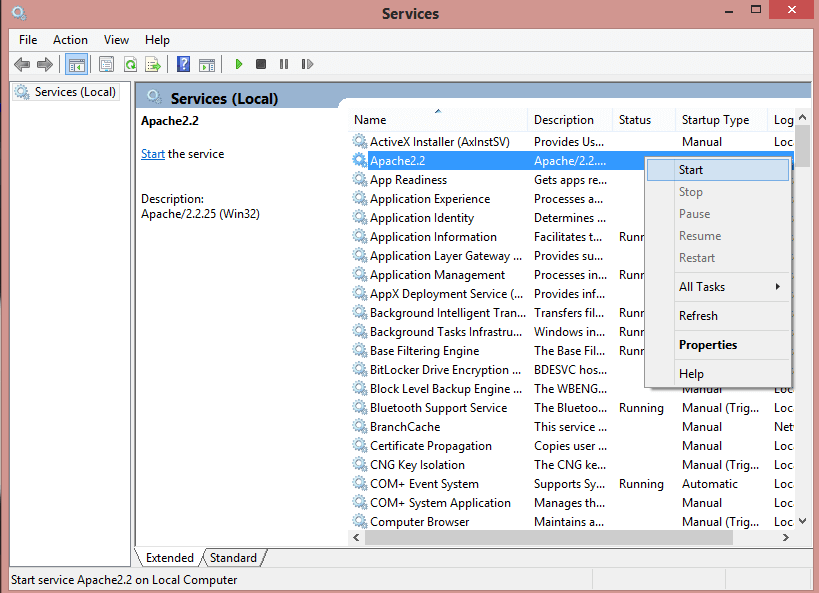
Step 7:
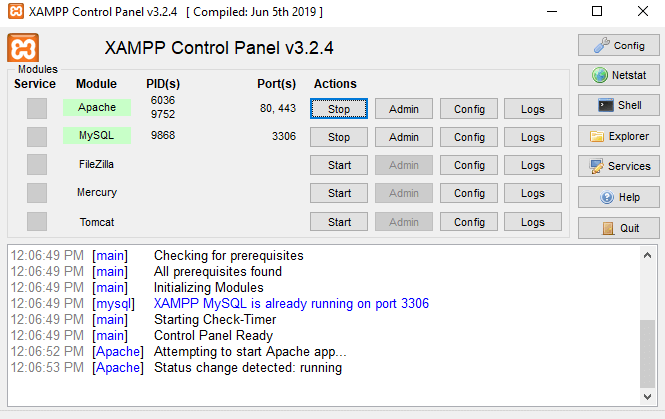
Now check the status that apache server is running or not from the services of your computer system? If it is not running, then we need to run the apache server to open phpMyAdmin interface on the browser.
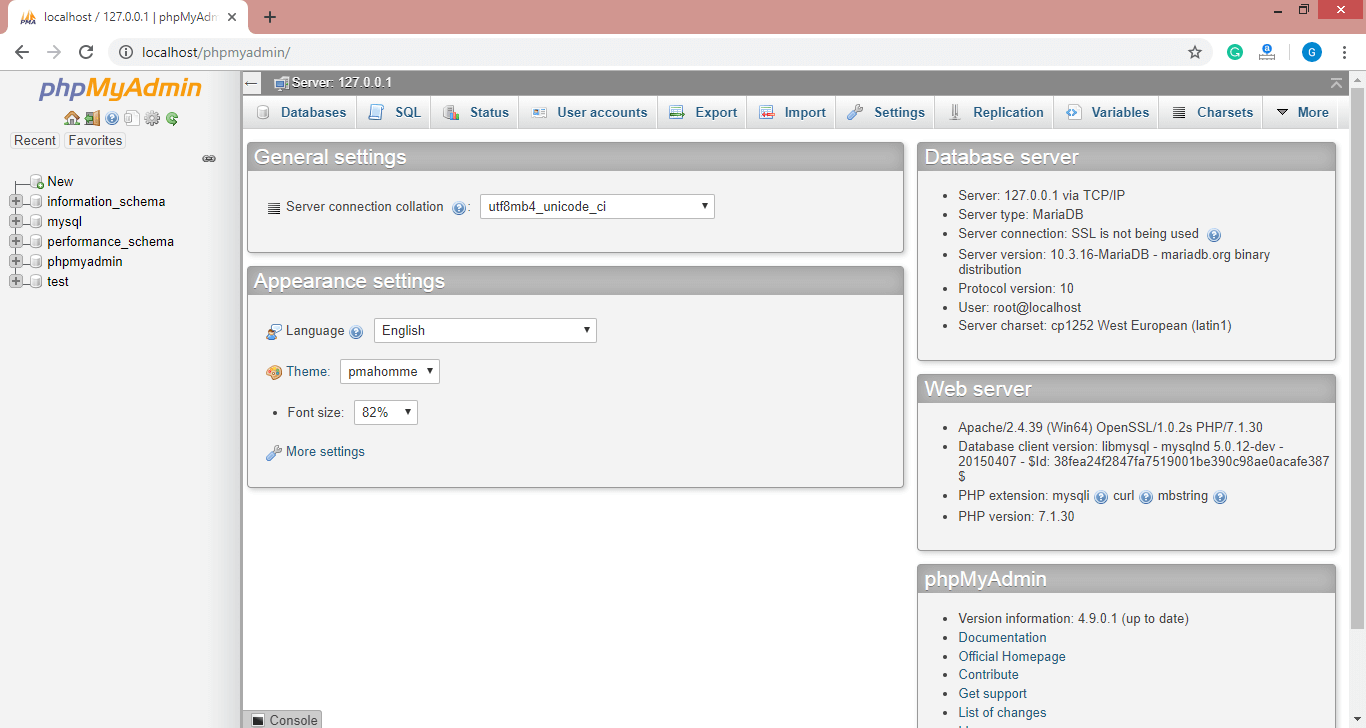
Step 8:
Now open the browser and type http://localhost/phpmyadmin/. phpMyAdmin will start running in the browser.
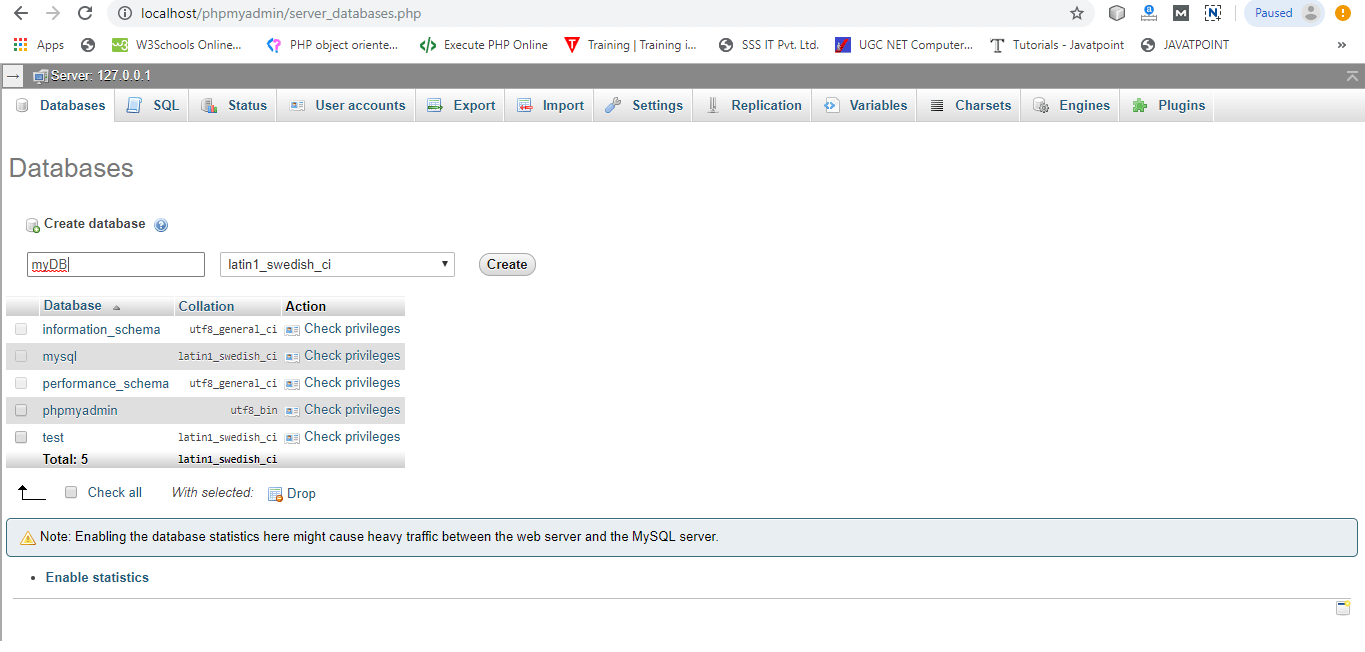
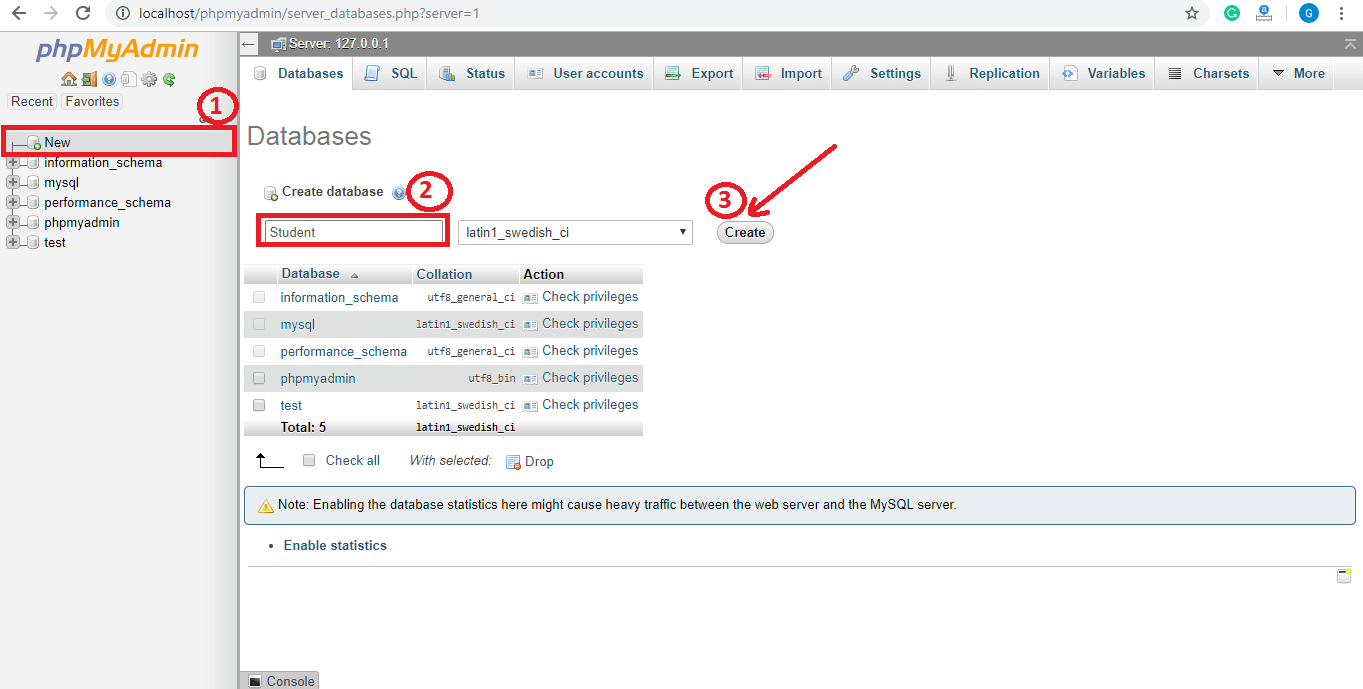
How to work with phpMyAdmin?
Click on New (1) to create a database and enter the database name in Create database (2) field and then click on Create (3) button. We can create any number of databases.
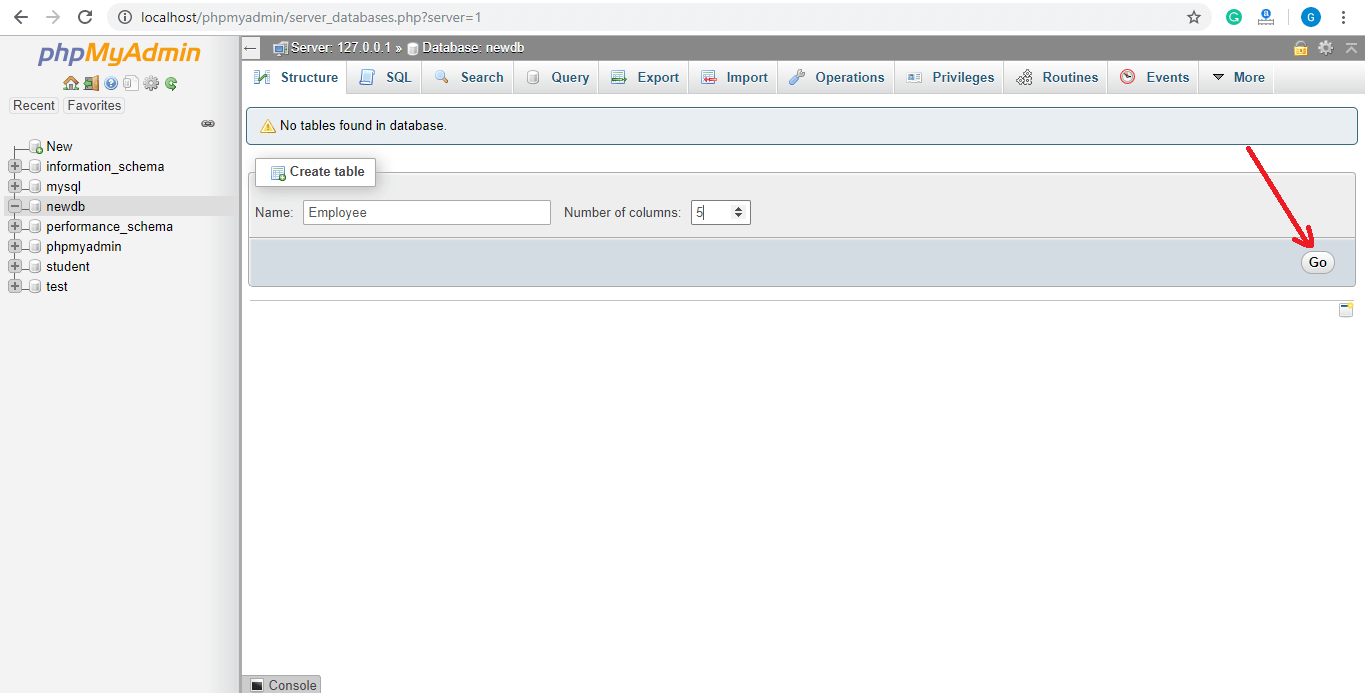
Enter the table name, number of columns, and click on Go. A message will show that the table is created successfully.
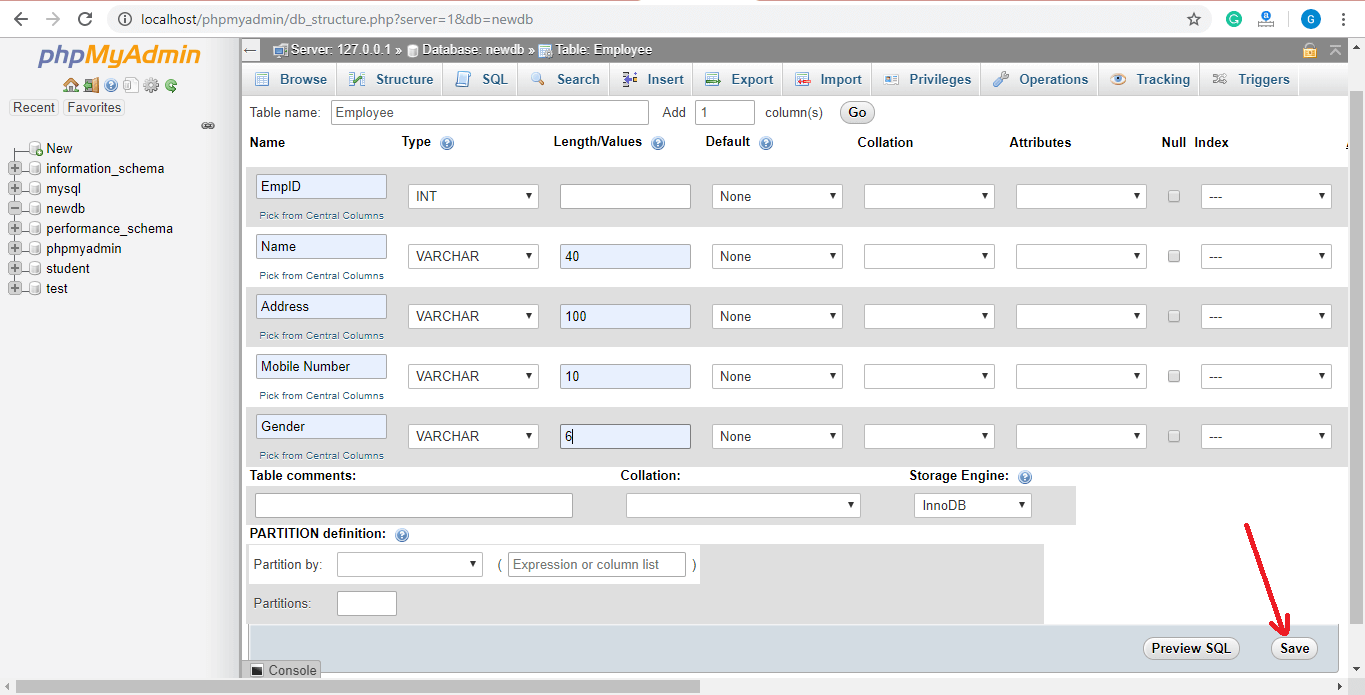
Now enter the field name, type, their size, and any constraint here and save it.
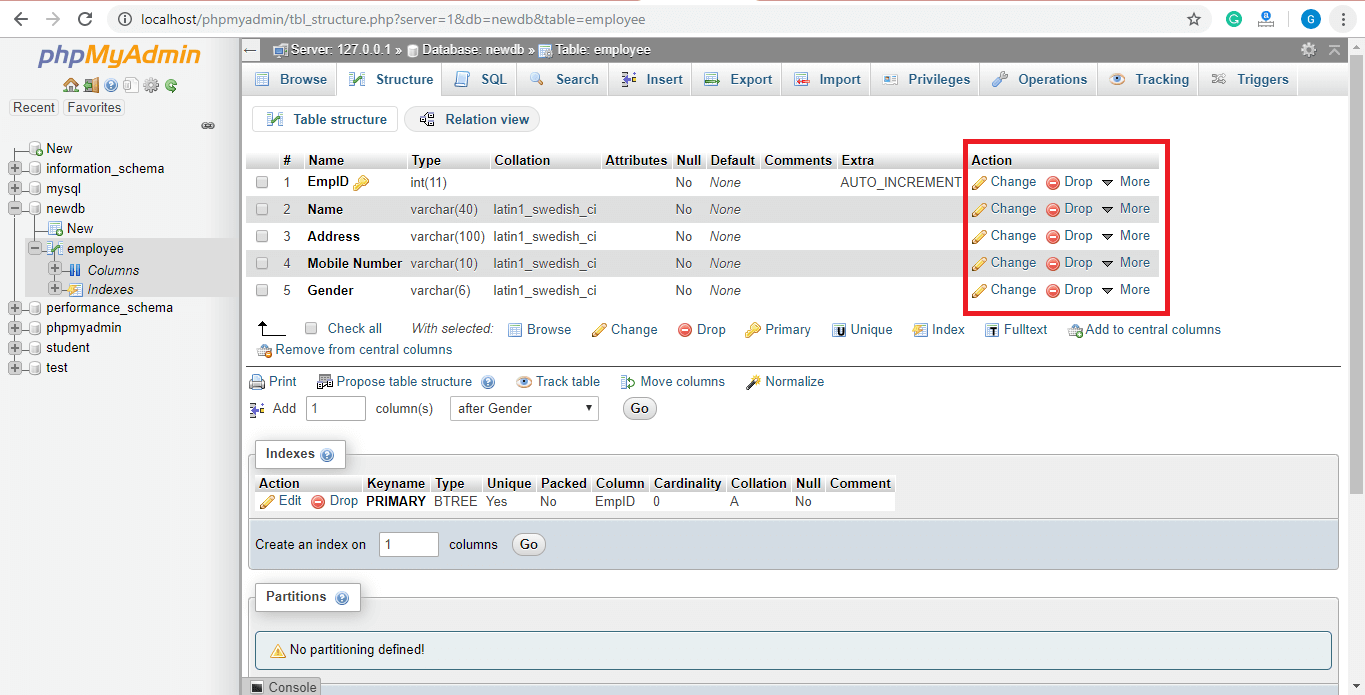
The table is created successfully. We can make changes in the table from here.
Database creation using coding with phpMyAdmin
We can create the database and tables using phpMyAdmin graphical user interface as well as with coding in php.
<?php
    $servername = "localhost";
    $username = "root";  //default user name is root
    $password = "";     //default password is blank
    $conn = mysqli_connect($servername, $username, $password);
    if(!$conn)
        die("Connection failed".mysqli_connect_error());
    else
        //echo "Successfully connected with database";
    $query = "CREATE DATABASE newDB";
    if (mysqli_query($conn, $query)) {
        echo "Database created successfully with the name newDB";
    } else {
        echo "Error creating database: " . mysqli_error($conn);
    }
    mysqli_close($conn);
?>
Output:
Database created successfully with the name newDB.

Database connectivity with phpMyAdmin
In phpMyAdmin, we create a database using a graphical user interface as well as by running queries.
<?php
    $dbhost="localhost";
    $dbName="newDB";
    $user="root";
    $pass="";
    $conn = new mysqli("mysql:host=$dbhost;dbname=$dbName",$user,$pass);
    try{
        echo "Successfully connected with newdb database";
    }
    catch(Exception $e){
            die("Connection failed".$e->getMessage());
    }
?>
Output:
Successfully connected with the database.