PHP Tutorial
- PHP Tutorial
- Install PHP
- PHP Code
- PHP Echo and print
- PHP Variable
- PHP Variable Scope
- PHP $ and $$
- PHP Constants
- PHP Data Types
- PHP Operators
- PHP Comments
Control Statement
- PHP If else
- PHP Switch
- PHP For Loop
- PHP foreach loop
- PHP While Loop
- PHP Do While Loop
- PHP Break
- PHP Continue
PHP Functions
- PHP Functions
- Parameterized Function
- PHP Call By Value and reference
- PHP Default Arguments
- PHP Variable Arguments
- PHP Recursive Function
PHP Arrays
PHP Strings
PHP Math
PHP Form
PHP Include
State Management
PHP File
Upload Download
PHP OOPs Concepts
- OOPs Concepts
- OOPs Abstract Class
- OOPs Abstraction
- OOPs Access Specifiers
- OOPs Const Keyword
- OOPs Constructor and destructor
- Encapsulation
- Final Keyword
- OOPs Functions
- OOPs Inheritance
- OOPs Interface
- OOPs Overloading
- OOPs Type Hinting
PHP MySQLi
- MySQLi CONNECT
- MySQLi CREATE DB
- MySQLi CREATE Table
- MySQLi INSERT
- MySQLi UPDATE
- MySQLi DELETE
- MySQLi SELECT
- MySQLi Order by
PHP Topics
- Compound Types
- is_null() Function
- Special Types
- Inheritance Task
- Special Types
- MVC Architecture
- PHP vs. JavaScript
- PHP vs. HTML
- PHP vs. Node.js
- PHP vs Python
- PHP PDO
- Top 10 PHP frameworks
- phpMyAdmin
- Count All Array Elements
- Create Newline
- Get Current Page URL
PHP Mail
To install PHP, we will suggest you to install AMP (Apache, MySQL, PHP) software stack. It is available for all operating systems. There are many AMP options available in the market that are given below:
- WAMP for Windows
- LAMP for Linux
- MAMP for Mac
- SAMP for Solaris
- FAMP for FreeBSD
- XAMPP (Cross, Apache, MySQL, PHP, Perl) for Cross Platform: It includes some other components too such as FileZilla, OpenSSL, Webalizer, Mercury Mail, etc.
If you are on Windows and don’t want Perl and other features of XAMPP, you should go for WAMP. In a similar way, you may use LAMP for Linux and MAMP for Macintosh.
Download and Install WAMP Server
Click me to download WAMP server
Download and Install LAMP Server
Click me to download LAMP server
Download and Install MAMP Server
Click me to download MAMP server
Download and Install XAMPP Server
Click me to download XAMPP server
How to install XAMPP server on windows
We will learn how to install the XAMPP server on windows platform step by step. Follow the below steps and install the XAMPP server on your system.
Step 1: Click on the above link provided to download the XAMPP server according to your window requirement.
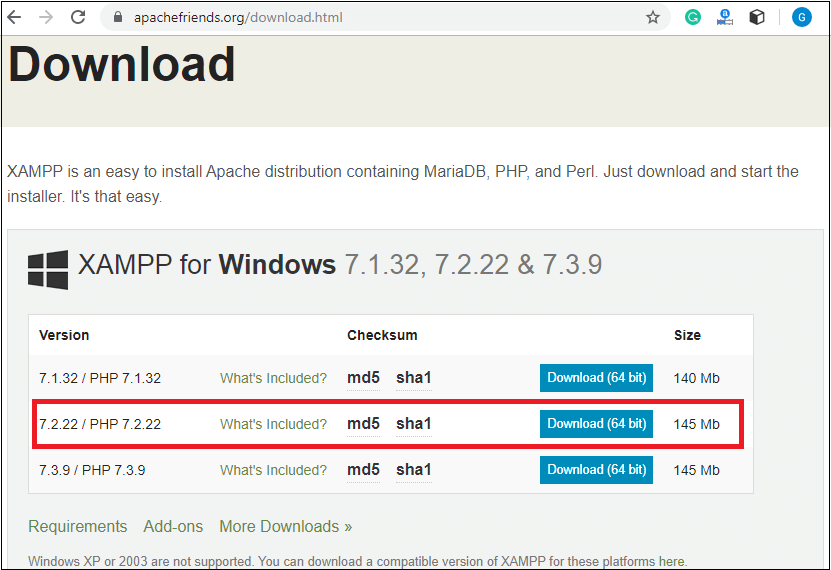
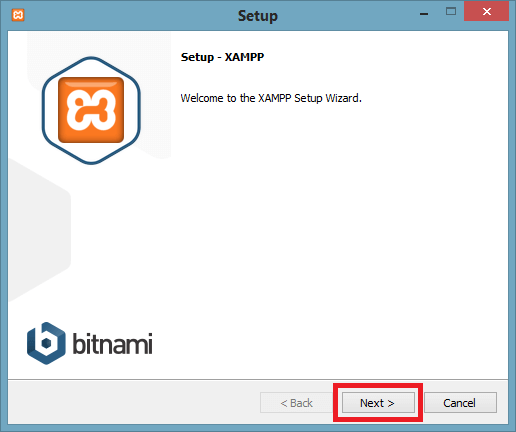
Step 2: After downloading XAMPP, double click on the downloaded file and allow XAMPP to make changes in your system. A window will pop-up, where you have to click on the Next button.
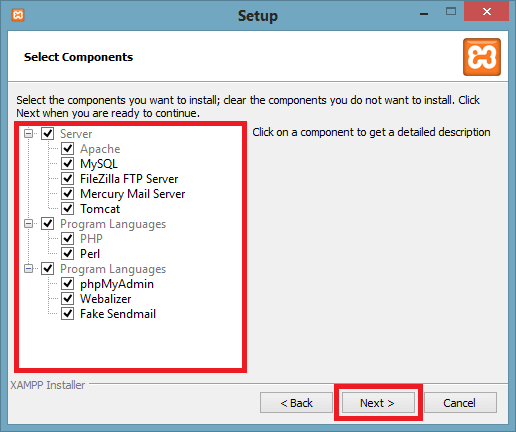
Step 3: Here, select the components, which you want to install and click Next.
Step 4: Choose a folder where you want to install the XAMPP in your system and click Next.
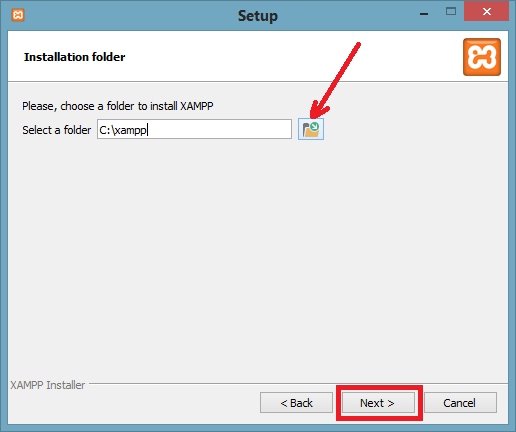
Step 5: Click Next and move ahead.
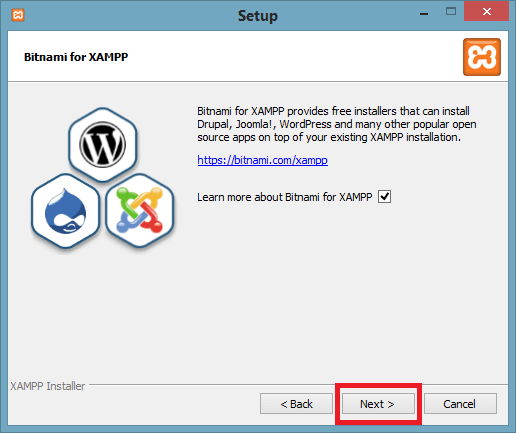
Step 6: XAMPP is ready to install, so click on the Next button and install the XAMPP.
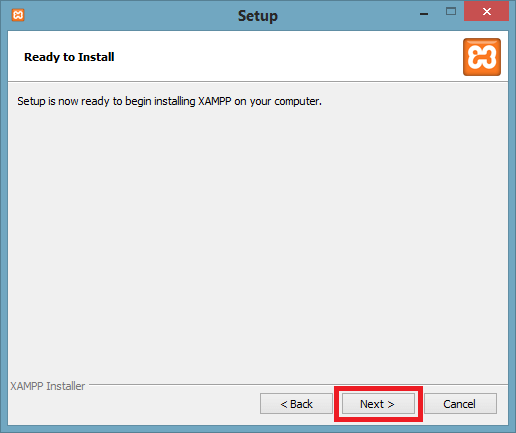
Step 7: A finish window will display after successful installation. Click on the Finish button.
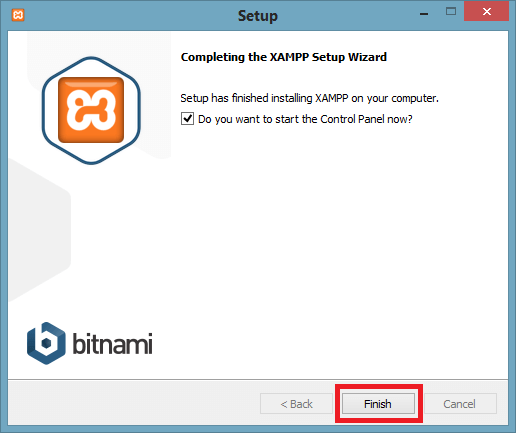
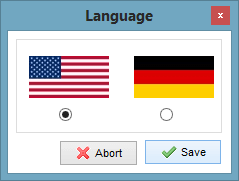
Step 8: Choose your preferred language.
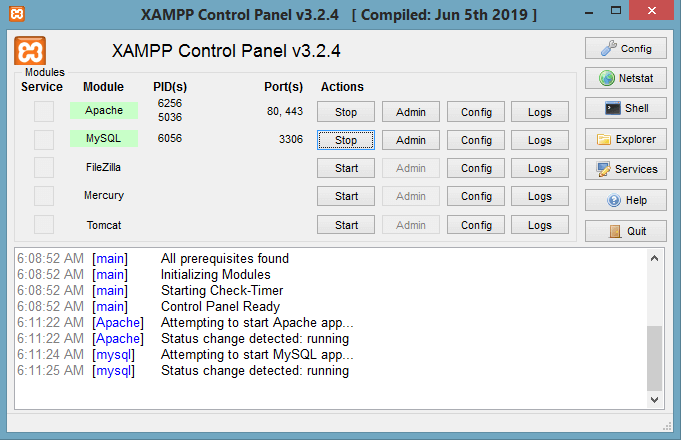
Step 9: XAMPP is ready to use. Start the Apache server and MySQL and run the php program on the localhost.
How to run PHP programs on XAMPP, see in the next tutorial.
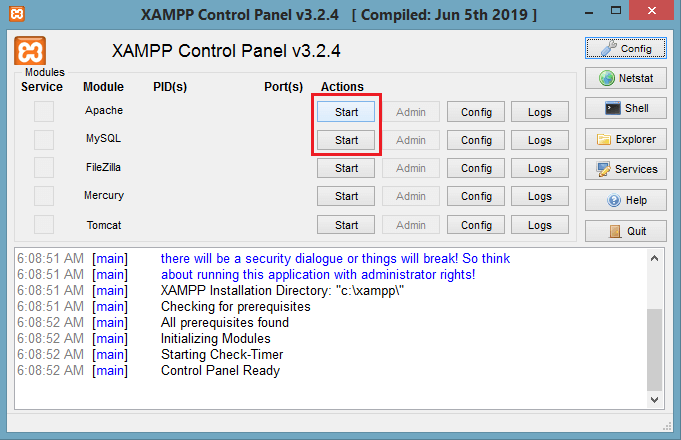
Step 10: If no error is shown, then XAMPP is running successfully.
